Video conference
The StanagOnDemand server’s video conferencing feature enables collaboration during live UAV missions and post-flight debriefs. During live missions, it allows operators, commanders, and mission specialists to connect in real time, facilitating instant decision-making and information sharing. This real-time collaboration is essential for adjusting mission parameters, addressing unexpected challenges, and ensuring mission success.
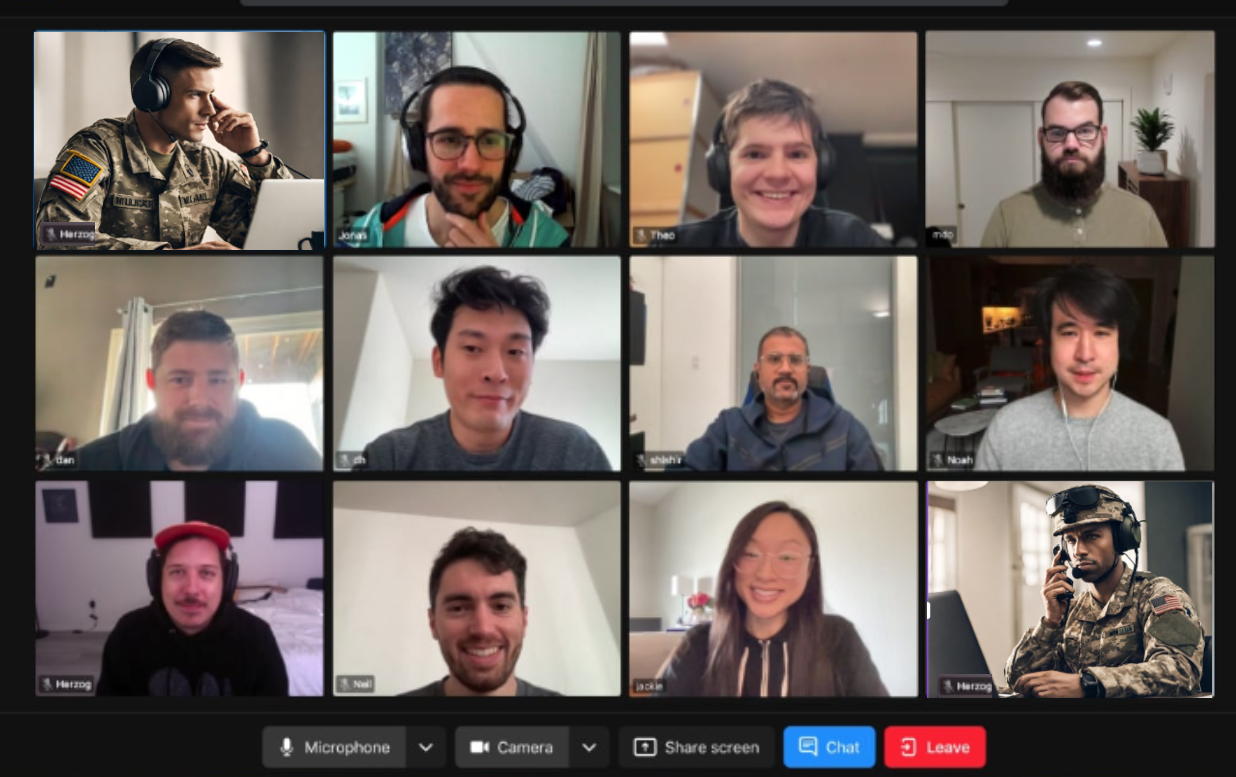 In the post-flight debrief phase, StanagOnDemand provides a platform for comprehensive analysis and discussion. Team members can easily review recorded video footage, share screen captures, and engage in detailed discussions through the integrated chat feature. This robust collaboration tool helps teams identify areas for improvement, document lessons learned, and enhance overall mission effectiveness.
Administrators can create secure meeting rooms with finely-tuned access rights based on user groups, ensuring that only authenticated users with the appropriate credentials can join. This granular control over access not only safeguards sensitive mission information but also streamlines the process of gathering key personnel for discussions.
Additionally, the system provides optional end-to-end encryption, ensuring that all communication within the video conference remains confidential and secure. This level of encryption is crucial in safeguarding mission-critical data and maintaining the integrity of discussions, particularly when dealing with classified or sensitive information.
Whether it's coordinating complex UAV operations in real-time or conducting thorough post-flight analyses, StanagOnDemand's video conferencing feature serves as an indispensable tool, fostering collaboration, and knowledge-sharing throughout every phase of the mission lifecycle.
Creating a Meeting Room
To create a new Meeting Room, follow these simple steps:
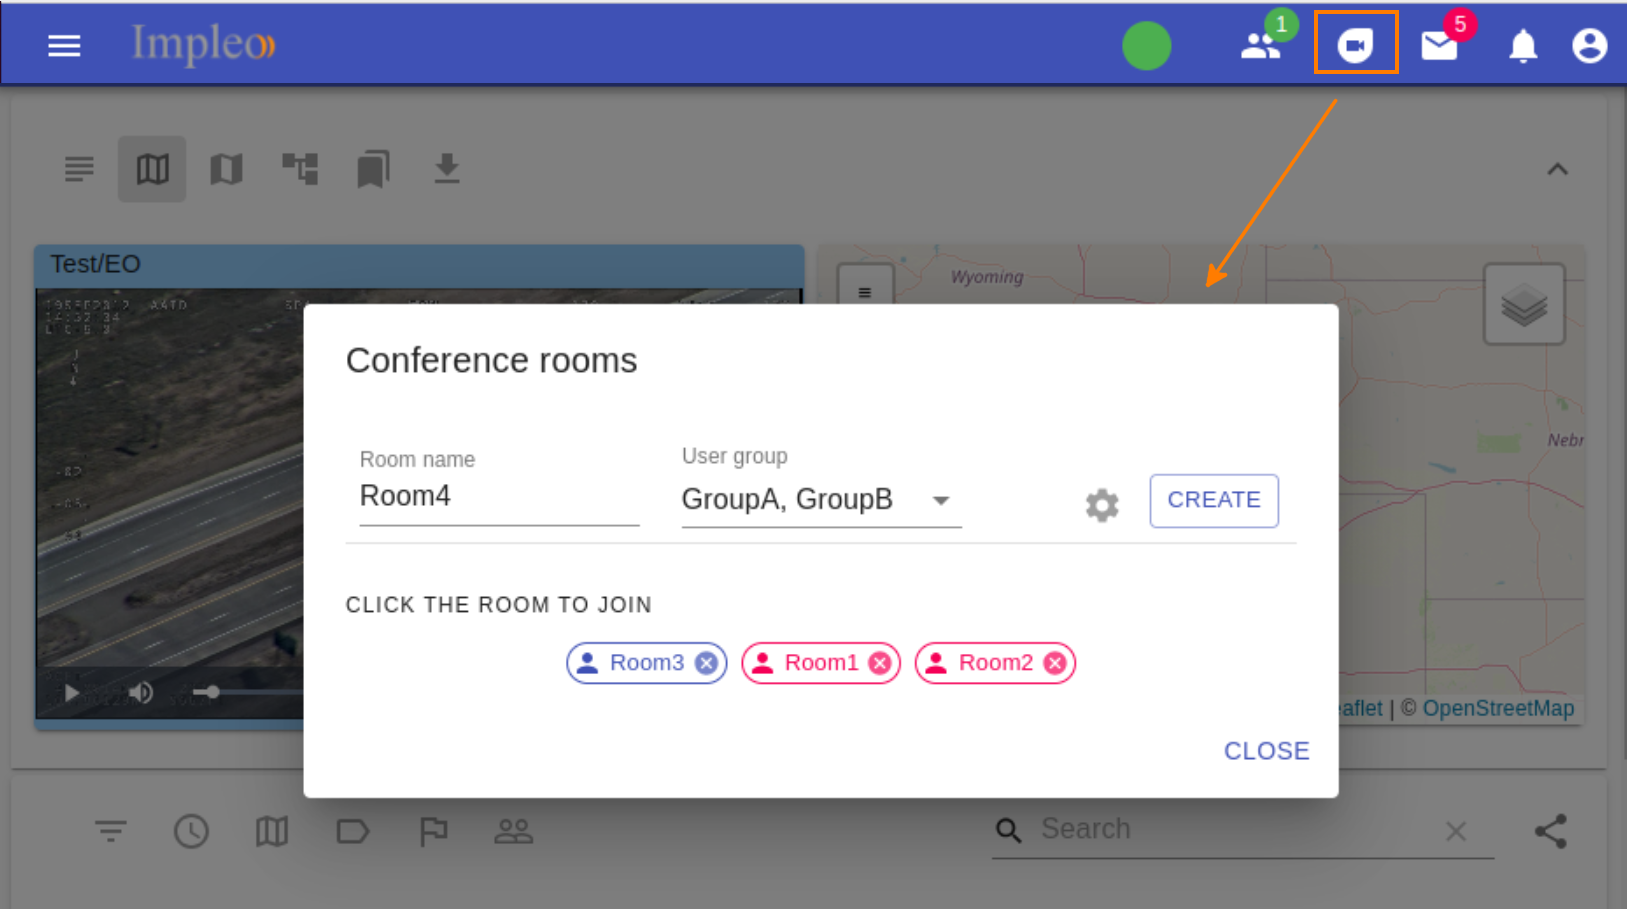
- Navigate to the top app bar, locate and click on the "Conferences" button.
- Select a Unique Room Name. This name will be used to identify your room, so choose something descriptive and easily recognizable.
- Assigning User Groups (Optional). To control access to your meeting room, you have the option to assign user groups. User groups help you manage who can join your meeting. If no user groups are assigned, the meeting room's access will be open to all authenticated users.
- Click on the "Create" button to create your meeting room.
 You can easily set additional parameters such as the room idle timeout or limit the number of participants. To access these advanced settings, click on the "Advanced Settings" button.

Within this menu, you can configure options like the Room idle timeout, which automatically closes the room if no users are connected for a specified period, or you can define participant limits to control the maximum number of individuals allowed in the room at any given time.
The application will process your request and generate the meeting room with the specified settings. Once the room is created, you will typically receive a confirmation message.
Congratulations! You have successfully created a meeting room in our application. You can now use this room for your meetings, discussions, or any other collaborative activities as needed.
Joining a Conference Room
Joining a conference room is a straightforward process. Follow these steps:
At the bottom of the window, you will see a list of available conference rooms. Rooms that appear in blue are public and open to all users, while rooms in red are restricted and may require specific permissions.
 Review the list of conference rooms and select the room you wish to join by clicking on it. Please note that you can only see and access rooms for which you have permission. Admin users have access to all rooms. Once you click on the room you want to join, you will be redirected to the conference room's popup window.
For first-time users, the application may request permission to access your webcam and microphone, which is necessary for participating in audio and video conferences. Grant the required permissions to proceed. Once you have granted permissions and entered the conference room, you can interact with other participants and engage in the meeting.
Deleting the conference room
To delete a room, administrators can simply click on the delete icon located within the meeting chip associated with that particular room. This action will initiate the deletion process and remove the room from the list of available conference rooms.
Note, only Admins have the authority to delete the rooms.
User defined video conference implementation
Instead of using the integrated video conferencing solution, a custom video conference implementation can be defined. In this mode, pressing the Conferences button simply opens a user-defined web page.
To use the custom video conferencing implementation, follow these instructions:
Define a URL in the .env file.
CUSTOM_CONFERENCE_SERVER_URL=http://localhost:8400